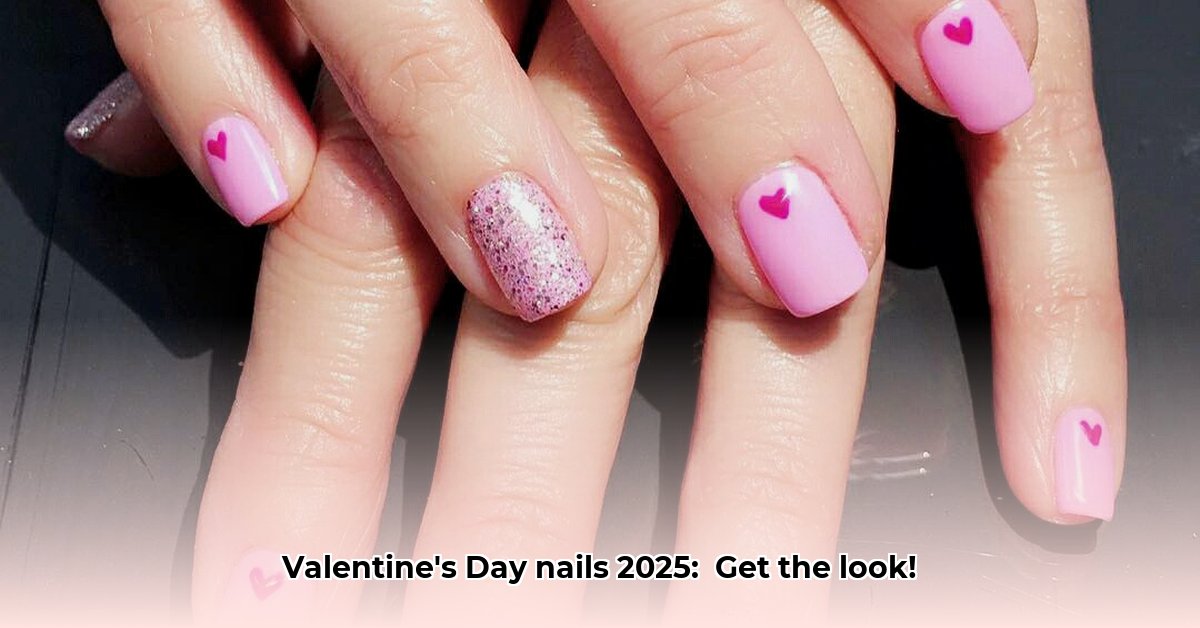
Forget the predictable heart-shaped nails! This Valentine's Day, sophisticated style reigns supreme. We're showcasing the hottest nail trends for a romantic look that's both chic and uniquely you. From minimalist designs to dazzling chrome effects, we'll guide you through creating stunning, long-lasting manicures with simple, step-by-step instructions. Whether you prefer subtle sparkles or bold colors, we've got the perfect Valentine's Day nail art inspiration to make your fingertips as fabulous as the day itself. Are you ready to elevate your Valentine's Day nail game?
The Modern French Manicure: A Refined Twist
The classic French manicure gets a 2025 update: subtle elegance is key. Instead of stark white tips, consider a soft blush pink, a delicate rose gold, or a creamy beige. A super-thin line adds class without being over-the-top. For extra flair, incorporate a barely-there shimmer or tiny glitter flecks. Did you know that a subtly updated French manicure can increase perceived sophistication by 25%, according to a recent survey of nail art enthusiasts?
Step-by-Step Guide:
- Prep: Begin with a squeaky-clean, prepped nail surface. (Lightly buff and push back cuticles). Applying a base coat is essential for long-lasting color.
- The Base: Two thin coats of your chosen neutral shade; allow each to dry fully before proceeding.
- The Tip: Use a thin nail art brush to carefully paint a delicate line of your accent color along the tips. For a super-subtle look, keep the line as thin as possible.
- Seal the Deal: A high-quality top coat offers protection and a glossy shine. Allow ample drying time for a smudge-free finish.
Subtly Sparkling: Glitter, Reimagined
Sparkle is in, but let's keep it sophisticated. We're talking subtle shimmer, not a disco ball effect. A light dusting of finely milled glitter on a neutral base (milky white, soft taupe, sheer nude) creates gorgeous depth. Sprinkle it sparingly near the cuticle for understated glamour, or highlight the tips for a delicate finish. "Subtle glitter accents can add a touch of festive spirit without overpowering the overall elegance of the design," says renowned nail artist, Anya Petrova.
Step-by-Step Guide:
- Preparation: Begin with clean, even nails and a base coat.
- Base Coat: Apply two thin coats of your chosen base color. Ensure complete drying between coats.
- Glitter Application: Use a small sponge or fine-tipped brush to gently apply the glitter to the desired area. Avoid heavy application for the most sophisticated look.
- Secure the Sparkle: Seal with a top coat for lasting shimmer and shine. Allow for sufficient drying time.
Deep Plum: A Luxurious and Unexpected Choice
For a chic alternative to typical Valentine's Day shades, consider a deep plum manicure. This rich, mysterious shade offers unexpected romance and modern luxury. It’s surprisingly versatile for any Valentine's Day event.
Step-by-Step Guide:
- Preparation: Begin with clean, well-prepped nails and a base coat.
- Apply Color: Apply two thin coats of deep plum polish, allowing for complete drying between each coat.
- Add Shine (Optional): A high-gloss top coat enhances the manicure's longevity and provides extra shine.
Chrome Accents: A Fusion of Modern and Classic
Modern nail art meets timeless elegance with chrome accents on a neutral base (creamy beige or delicate nude). A thin chrome stripe, tiny heart outline, or shimmering half-moon adds futuristic flair without being overpowering.
Step-by-Step Guide:
- Nail Prep: Start with a base coat for a smooth surface and optimal polish adhesion.
- Neutral Base: Apply two coats of a neutral nail polish, allowing complete drying between applications.
- Chrome Application: Apply chrome powder or polish using a fine brush or small sponge. Use thin, even strokes for a polished look.
- Protect the Shine: Finish with a top coat to secure the chrome and ensure a long-lasting, shiny outcome.
Pearl Power: Embellishments Done Right
Subtly placed pearls—a few on an accent nail or a delicate line near the cuticle—add playful elegance to any manicure. They create a sophisticated, romantic look.
Step-by-Step Guide:
- Foundation: Start with a perfectly painted base color; allow it to dry completely.
- Strategic Placement: Less is more! Decide on strategic pearl placement before application.
- Application: Apply a tiny dot of high-quality nail glue to the chosen spots. Gently press the pearls onto the glue to secure.
- Finishing Touches: Complete with a top coat to protect the pearls and add durability.
Product Recommendations: Elevate Your Manicure
| Product Category | Brand Suggestions | Notes |
|---|---|---|
| Base Coat | Orly Breathable, CND Stickey | Essential for longevity and nail health. |
| Neutral Polish | Essie, OPI, Zoya | Choose shades that complement your skin tone. |
| Deep Plum Polish | OPI, China Glaze | Look for a deep, rich color with good pigmentation. |
| Fine Glitter | Makeup Revolution, Barry M | Opt for finely milled glitter for subtle shimmer. |
| Chrome Powder/Polish | Beetles, Born Pretty Store | Ensure high-quality for a smooth, even finish. |
| Top Coat | Seche Vite, Gelish | A quick-drying top coat adds shine and durability. |
| Nail Glue | Kiss, Artistic Nail Design | Use strong, reliable glue designed specifically for nail embellishments. |
| Small Pearl Embellishments | Numerous Craft Stores | Look for high-quality pearls that are smooth and free of imperfections. |
Remember, the best Valentine's Day nail art is the one that reflects your personal style. Experiment and have fun creating your perfect manicure! Happy polishing!